
Yay! I am so excited about finishing this bag. Goodness, it took me ages! On and off over 2.5 weekends... That's a long time even for a slow sewer like me. Anyway I have definitely enjoyed the process but I must say as much as I love Amy Butler's designs and beautiful fabrics, I found the pattern instructions challenging and laborious to follow. For me, I would have preferred patterns with more diagrams or pictures to go with each step. Having said that, I have learned heaps in making this so perhaps having to think a lot more at some steps is part of the learning curve. Nevertheless, I love this and all of Amy Butler's designs. Thought I would also credit some of my favourites bag designers I have tried patterns of are Lisa Lam and Nicole Mallalieu as they both have excellent instructions with clear instructions and pictures. They have great tutorials which I have found to be extremely helpful. I have consulted both Lisa Lam's The Bag Making Bible (installing the zipper) and Nicole Mallalieu's online tutorials (magnetic snaps & purse/ bag feet) while making this bag as well.
The outside fabric is a home deco weight from IKEA and the interior fabric is a quilt weight fabric. I think lighter weight fabrics can also be used for this pattern. I mentioned all the cutting and interfacing etc in my last post and my little basic Janome was really working quite hard having to sew through so many layers. Not to mention the broken needles (completely my own error!). I had to fix the handle bands by hand as I couldn't get the stitches straight with the machine. I also did the tacks on each sides by hand using DMC embroidery cottons.
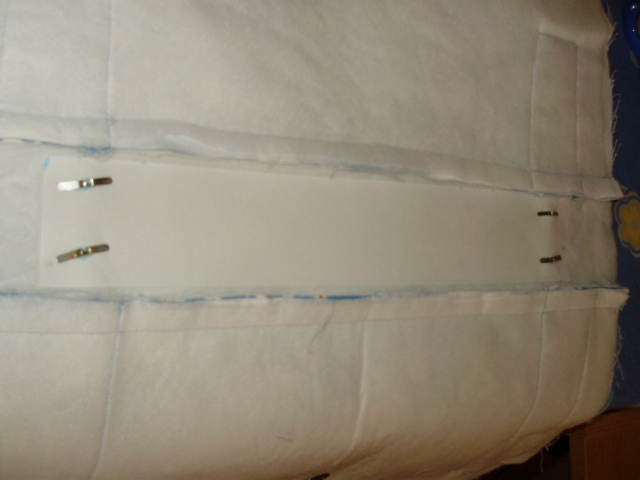
I have deviated a couple of times from the pattern. I added bag feet and extra tacks on the sides at the front of the bag. The feet allow me to put the bag on the ground when I am out and about if I have to. The extra tacks has created more structure as well (I think that's just the way I sewn it!)


 |
| The All purpose coin purse fits nicely for my iPhone here! |


All in all, I am glad to have made this bag as it really did intimidated me initially.
Next on the sewing list is the Napkitten's 27 pockets wallet as mentioned in this post I did recently.
sewing sewing sewing... knitting knitting knitting... I also hope to get my amigurumi mojo back soon too....
PS - after I did this post yesterday, I googled to see what other people's Blossom Bag looks like and I came across Poppyprint's post last night... I feel somewhat relieved that I wasn't the only one finding this pattern challenging... Thanks Poppyprint! I think I will start researching on future patterns before starting them to pick up some pointers!
Very nice bag. Great job on finishing the bag in just two weekends. Love the matching coin purse as well.
ReplyDeleteAmanda, your bag turned out beautifully! I wish that I had purchased feet for mine before I made it. I bought some after the fact, but I'm afraid to punch a hole straight through my finished bag...I still might. I've never even used this bag that took me so long to make b/c I'm afraid to get it dirty! I've also never carried such a large purse before. I feel like hanging it on a wall for display instead.
ReplyDeleteThanks Krista! I am going to scotch guard my bag before using it too. I can't wait for summer to come as colours of my bag look summery. It is also perfect size for work cause I can fit all the essentials in it. I hope you use your bag cause it is so pretty and the colours suit all year around : )
ReplyDelete